


Creating a mobile application with Flutter and Turso
A tutorial that guides you through the creation of a mobile application using Flutter and Turso using a REST HTTP API.
This is the second part of a two part series on mobile application development with Turso/SQLite. You can read this as an independent post without the need to refer to the first part, which focuses on prototyping a mobile application using Quasar and SQLite.
Turso has a Platform API that lets you do many things, including manage databases on the fly when creating multitenant SaaS services and assist you in bringing your own SDK when working with languages or frameworks that do not have an official SDK yet.
A Dart SDK doesn't exist as of yet, but since Turso provides a REST HTTP API we can still manage databases using it, a regular practice with database communications involving Flutter applications.
Currently, Turso has officially supported SDKs for TypeScript, Go, Rust, and Python.
In this post, we'll create a “recipe book” mobile application built in Flutter, Google's open source framework for building native compiled, multi-platform applications based on the Dart language, and Turso – the distributed database built on libSQL.
We'll continue from where we left off in the previous post and transfer the data that we stored in the SQLite database that we were working with locally to Turso. You can easily download the SQLite file in case you haven't followed the previous step.
Prerequisites:
The prerequisites for building the application in this tutorial are the Flutter SDK(plus the necessary mobile platform build tools needed in your operating system) and the Turso CLI.
The code to the project being built in this tutorial can be found on GitHub if you want to have access to it and follow along.
#Creating a new Flutter application
We'll start off by creating a new Flutter application. To do so, run the following command on your terminal:
flutter create my_recipe_book
When the command is completed, cd into the created project's directory and run the following command to install some packages:
flutter pub add http uuid bloc flutter_bloc equatable
We'll use the http package to facilitate communication with Turso's Platform API and the uuid package to generate unique ids for our database table rows.
The flutter_bloc, bloc, and equatable packages are required if you opt to use the BLoC library for state management as I've opted to in this application. Whether you decide to go with a state management solution or not, the communication between your Flutter application and Turso via HTTP practically remains the same.
#Setting up Turso
We'll be creating a new Turso database from this SQLite file. Place the downloaded SQLite file at the root of your project and run the following command in your terminal:
turso db create recipe-book --from-file recipe-book.db
To verify that our local data is now in Turso, access the database using the Turso shell:
turso db shell recipe-book
Then, issue .tables to see if both our tables are in the newly created Turso database. You can further query the tables if you want to make sure that the migrated data exists:
select count(*) from recipes;

select count(*) from ingredients;
Quit the Turso shell afterwards by using the command:
.quit
#Getting database credentials
Run turso db show --url recipe-book to get the Turso database URL.
Then, run turso db create tokens recipe-book to create an authentication token for the database.
We'll need these two credentials to construct secure HTTP requests and communicate with Turso. Make sure to replace the libsql protocol from the database URL with https while using it in HTTP just as in this case.
#Building the Flutter application
Begin by running the Flutter application in debug mode. Make sure to pass the database credentials obtained above to be used as environment variables within the applications code using the --dart-define flags:
flutter run --debug --dart-define=TURSO_URL=[issued-db-url-with-https] --dart-define=TURSO_AUTH_TOKEN=[issued-auth-token]
You should see the default Flutter counter application running on your connected device or emulator.

This should be the directory layout of the created Flutter application.
├── README.md
├── analysis_options.yaml
├── android
├── ios
├── lib
│   └── main.dart
├── linux
├── macos
├── pubspec.lock
├── pubspec.yaml
├── test
├── web
└── windows
We'll mostly focus on writing code inside lib.
We're going to separate the business logic and UI code so that our application is easy to test and debug should we need that.
#The domain layer
Our application has two models, Recipes and Ingredients. Pretty much aligns to what we have as tables within our Turso database. The properties of these models are what we have for the row columns of the two tables minus what we don't need to display in the app.
Create a models directory and add three files, recipe.dart, ingredients.dart, and models.dart. The last file is just a barrel file that exports our models.
For the recipe model, add the following code:
import 'dart:convert';
import 'package:equatable/equatable.dart';
import 'ingredient.dart';

Recipe recipeFromJson(String str) => Recipe.fromJson(json.decode(str));

class Recipe extends Equatable {
  final String id;
  final String name;
  final String nutritionInformation;
  final String instructions;
  final List<Ingredient>? ingredients;

  const Recipe(
      {required this.id,
      required this.name,
      required this.nutritionInformation,
      required this.instructions,
      this.ingredients});

  factory Recipe.fromJson(Map<String, dynamic> json) => Recipe(
      id: json["id"],
      name: json["name"],
      nutritionInformation: json["nutrition_information"],
      instructions: json["instructions"],
      ingredients: json["ingredients"] != null
          ? List<Ingredient>.from(jsonDecode(json["ingredients"])
              .map((ingredient) => Ingredient.fromJson(ingredient)))
          : []);

  @override
  List<Object?> get props =>
      [id, name, nutritionInformation, instructions, ingredients];
}
And for the Ingredients model, add:
import 'dart:convert';
import 'package:equatable/equatable.dart';

Ingredient ingredientFromJson(String str) =>
    Ingredient.fromJson(json.decode(str));

class Ingredient extends Equatable {
  final String id;
  final String name;
  final String measurements;
  final String recipeId;

  const Ingredient({
    required this.id,
    required this.name,
    required this.measurements,
    required this.recipeId,
  });

  factory Ingredient.fromJson(Map<String, dynamic> json) => Ingredient(
      id: json["id"],
      name: json["name"],
      measurements: json["measurements"],
      recipeId: json["recipe_id"]);

  @override
  List<Object> get props => [id, name, measurements, recipeId];
As you can see, we've also included factory constructors to assist us with structuring JSON data we'll be receiving from the Turso Platform API to our application's entities.
#The data layer
Since the mobile application we're building is communicating with a REST API, the Turso HTTP API in this case, I've decided to implement the repository pattern so as to separate all the logic involving the unstructured data from the rest of the app. The repository will abstract all the data communication operations between the Flutter application and Turso from the UI/presentation layer.
Let's start off with the data source for our application's repository.
#Sending HTTP requests to Turso
The Turso Platform API is a data source for our application, so, let's create a client that handles the raw HTTP communication between Turso and the Flutter application.
Create a new lib/data_sources directory and in it add a turso_rest_api_client.dart file. Add the code found in this GitHub file to the created file.
In the TursoRestAPIClient class, we're first grabbing the two environment variables we passed while running the app.
static const String dbUrl = String.fromEnvironment("TURSO_URL", defaultValue: "");
static const String authToken = String.fromEnvironment("TURSO_AUTH_TOKEN", defaultValue: "");
Then, we use them to construct the HTTP requests with the assistance of the Dart HTTP package we installed early on.
The runQuery() method within this class is the communication gateway between the Flutter application and the Turso database. We use it to construct secure HTTP requests with Bearer authentication using the database URL and authentication token, passing alongside it a request payload containing the SQL query being issued to Turso.
For instance, in the self explanatory getRecipes() method, we're passing a query that fetches all the recipes found in our Turso database recipes table. We then structure the returned data to fit what we want returned, a List of Recipes in this case.
In another method, addIngredients(), we're passing multiple secure statements with their queries and related arguments to the runQuery() method which parses the received information and sends the appropriate request to the Turso HTTP API.
We do the same for the following methods within the API client class:
Next, create a new turso_repository.dart file under a lib/repositories directory and add the code found in this GitHub file. This is the repository that the presentation layer of the Flutter application will be using to get data from Turso.
One clear benefit of this layer of abstraction is visible in the case of the addRecipe() method where we're sending two separate requests to add a recipe to the database, business that the presentation layer needs no details of. In this case, when changes happen at the data layer e.g change in the HTTP API, the request coming from the presentation layer is never affected.
#The presentation layer
We'll use the prototype in the first blog post as guidance for building the UI and presentation layer of the Flutter application.
#State management
I've chosen to go for a state management solution, the BLoC library in this case, instead of communicating directly with the repository from the UI. This means that widgets in the Flutter application tree will be updated by listening to the changes in states streamed in response to events performed programmatically or by the user.
Create a lib/bloc directory and add three files in it, recipe_bloc.dart, recipe_event.dart, and recipe_state.dart. Copy the respective code found in the three files as present on GitHub to the newly created files.
The recipe_bloc.dart file contains all the possible events that can be sent from the UI to the RecipeBloc.
The recipe_state.dart file contains all of the states that the application can be in.
And, within the RecipeBloc class we listen to the events sent from the UI, use the repository we created earlier to fetch or send data using the data layer depending on the nature of received events, and lastly we stream new states back to the UI.
#Application screens
Create a new lib/screens directory and add three files under it, home_screen.dart, new_recipe_screen.dart, and recipe_details_screen.dart. Copy the code to the three files as found on GitHub.
Within the “home” screen we programmatically send an initial event to the RecipeBloc then use the BlocConsumer widget to listen to the states streamed. We then display one of the following:
All depending on the streamed state.
For the “recipe details” screen, we send an event containing the passed recipe ID as part of the payload of the event to the RecipeBloc, then do one of the following:
- Show a loading animation
- List the obtained recipe details
- Show a ”not found” notification, or
- Navigate back to the Home Screen when the recipe with the provided ID is not found.
You can also perform recipe deletions on this screen.
In the “new recipe” screen, we have a form that lets you fill in recipe information and submit the data to Turso. In this screen we are listening to state changes at the form submission button level then show a loading animation when HTTP communications are in progress.
To be able to use the BlocConsumer widget, which lets us listen to the BLoC states at the screen level, we need to have a RepositoryProvider up in the Flutter widget tree. In our case, we place the RepositoryProvider at the top most widget found in widget tree of our Flutter application so as to give the BLoC component access to the TursoRepository that in turn gives it access to the data provider, the Turso HTTP API in this instance.
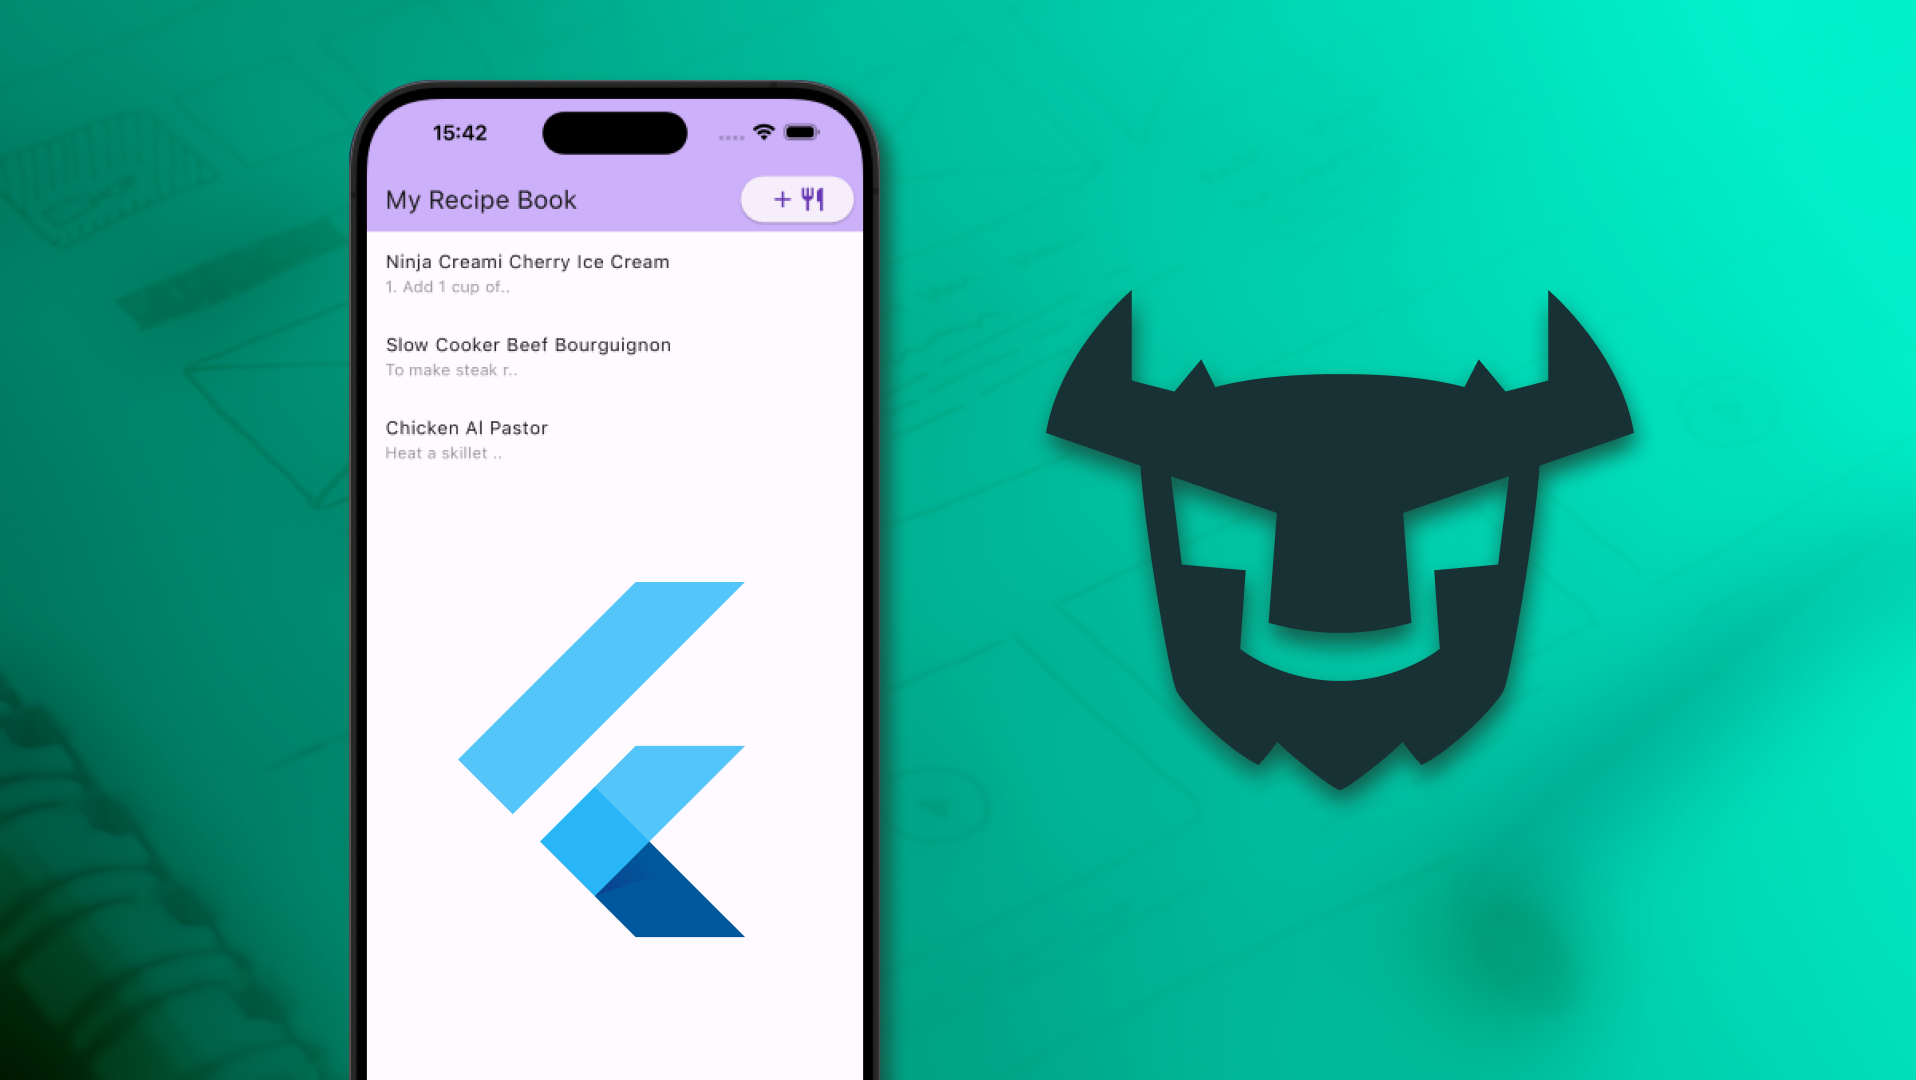
Here is a presentation of all the screens found in the Flutter application we'll have built by this point.

This is the end of the second part in this two-part series of blog posts. Click here to go to the first part of the series.
For more information on the resources used in this post, please visit the following links:
